Well looks who's been resurrected from the summer-time blog dead.
It's me.
Notice a url change too? Welcome to the new home of all things Jessica Stansberry, Hey Jessica.
Now that those formalities are out of the way, let's get to the topic.
Oh, wait, one more thing: If you'd like to know more about how to use Pinterest as a Marketing tool, grab my “Pinterest Marketing Tips” guide now.

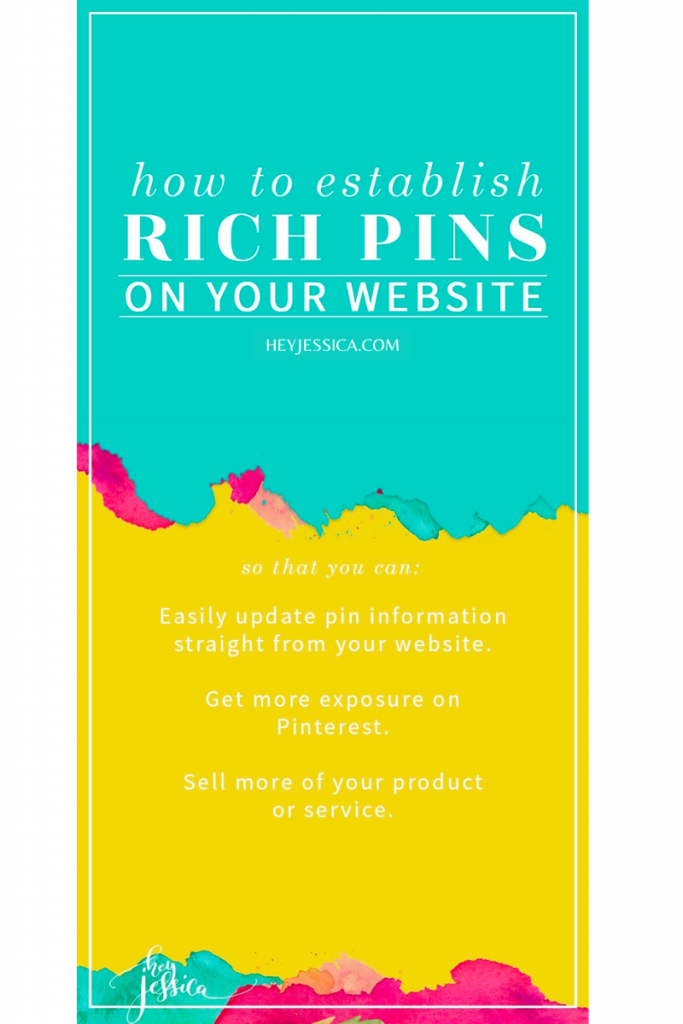
How to Set-up Rich Pins for Pinterest
I just got back from the Savvy Experience hosted by Heather Crabtree about a week ago and we learned sooooo freakin' much. The amazing Danielle from Miller Media Management presented on Pinterest techniques and tips and tricks and walked us all through setting up Rich Pins and it dawned on me that some people didn't know how to set this up…so, this baby tutorial was born.
Now, before I really dive in – why the heck do you NEED Rich Pins anyway?
A rich pin will allow you to:
- Easily change information on a pin from within your website instead of having to manually change in Pinterest. Want to change the name or your post or the description? Just do it in your site and Pinterest will automate it.
- Have higher exposure. It's a thing, Pinterest gives better exposure to Rich Pins.
- Easier purchasing information. Do you sell a product/service that's pinned on Pinterest? Well, now the buyer can see the price and the information straight from the pin so you're removing the guess work.
Let's take a look at two examples:
[one-half-first]This is a rich pin, note the information in bold and the fact that it has WHERE the pin came from and more info.

[/one-half-first][one-half]And then this one is an example of a not-so-rich pin, you can see the difference.

[/one-half]
Alright, now that that's cleared up, let's get on to the show.
Setting up rich pins for your site is super simple – like oddly simple actually.
- Go to THIS URL. This is just the official page from Pinterest on how to set things up.
- Prep your website. If you're using WordPress, you need to install the Yoast SEO plugin and the setting that needs to be turned on is on by default, so that's really it. Squarespace automatically preps this for you if you're a Squarespacer.
- Click the link that says “test out your rich pins” on the Pinterest page I sent you to in step 1 and enter a URL to a DIRECT POST/PRODUCT not your main URL. So, for instance, I have a blogpost about how to force auto-downloads in Dropbox and I know the URL is www.ohheyjessica.com/dropbox, so that's what I'll put here.It'll run a test for a few seconds and then you'll be told that your rich pins were validated and you need to apply.
- Put your MAIN URL (ohheyjessica.com) in the application box that pops up and hit “apply” and then wait a few hours and WAAALAA!
Super simple crazy, right?
Don't Forget!!! If you'd like to know more about how to use Pinterest as a Marketing tool, grab my “Pinterest Marketing Tips” guide now.
Do you prefer a video version of me walking through this process? View it below.
+ show Comments
- Hide Comments
add a comment