If you haven’t been able to tell, the theme on the podcast this past month has been online courses! And today, I’m breaking down how to create an online course (and spoiler alert: it’s the easiest part of the process)!
How to Create an Online Course | A Comprehensive Guide

Want to listen to the podcast version of this post? I’ve got you covered!
Before we dive in, if you're seeing this in real time and you want to learn more about LAUNCHING your course, you NEED to get in on my free workshop happening tomorrow (June 22)!
Okay, now to the good stuff.

I have created a course in one day before…
That’s right – in the past, I’ve created a course in one day. It was a short one, but creating a longer one in a few days or a week is totally doable! The actual course creation is NOT the hard part – building your audience and selling it take the most work. (I’ve been talking about how to do that over on my YouTube channel if you’re interested!)
People always ask me questions about course creation and they’re full of overwhelm about that piece. Even though that’s not the hard part, I do understand that people get hung up on it!
I want to give you a comprehensive guide on how to create an online course, so let’s dive in!
1. Pick your course topic and your audience
You have GOT to nail those down right from the beginning. What will your course be about, and who are you creating it for? And by “who are you creating it for,” I mean SPECIFICALLY who is the course designed for and who is going to want to buy it and take it?
I see people making the most mistakes at this foundational part of the course creation process. Rather than targeting “all entrepreneurs,” it needs to be targeted at “service-based business owners who want to get clients,” for example.
Nailing the topic and the audience is key! It needs to be super niched so that the result you’re promising from the course will be easy to translate to them in the course content. That way, the marketing and positioning of the course will feel super natural – because you know that your audience will want it, and you know exactly what you’re delivering.
2. Pick a Course Platform
A course platform is a place where you can host an online course. Whenever you’re selling a course, students need to be able to log in somewhere and go through the modules.
There are a LOT of ways that you can bootstrap this. You can create it on a locked page on your website or send out videos. But I recommend (for ease of use for you and the student) using Teachable or MemberVault.
Let’s talk about why you’d pick one over another.
MemberVault is FREE for up to 100 students, so there’s no worry that you won’t make your monthly fee back from selling a course! However, it’s a bit less user friendly than Teachable for the creator, but they do have a ton of tutorials to help you learn the platform.
Teachable costs $99 per month and is SUPER user-friendly for people building a course and for people taking a course. This is what I use in my business currently (but I have used MemberVault before, too).
This is totally up to you to pick the one that fits your business the best!
3. Outline Your Course
Step three is to outline your course. This is the reason that you need to nail down your topic and audience CLEARLY beforehand. You can’t outline the course without knowing your topic and audience!
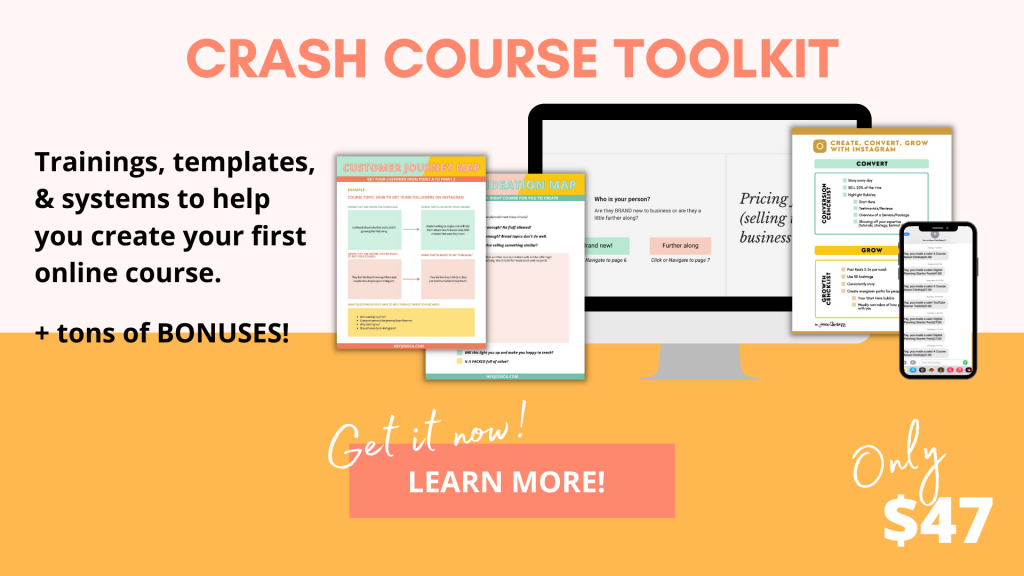
I recommend REALLY nailing down your customer journey so that you can outline your course well. Where is the customer before they buy your course, and where will they be once they take it? From there, you can outline the exact steps and pieces of information they need to know to get from point A to point B.
My favorite example right now is a farming course. If you’re doing a course about how to grow a vegetable garden, the content will be VERY different if it’s created for someone in an apartment building with a rooftop garden versus someone with 30 acres of land. See what I mean? The niche and customer journey should shape your entire outline.
4. Outline/Create the Slides for each Lesson
I start by outlining the BIG ideas for the course (in the last step) and then I go into a Google Docs and outline each lesson for each module. So it might look like…
- Module 1: Prep
- Lesson 1: Which vegetables are you going to grow?
Then, I break it down further. You can break it down by topic and then figure out the slides as you’re making them, or you can go ahead and break down the content by slides here.
After you outline this, put it in slides!
When I did this all by myself, I used to do the outline as I was creating the slides. I’m a very visual person, so seeing the slides as I went helped me to create an outline.
Now, I outline by writing what I want on each slide and then my team actually creates the slides.

PS – you don’t HAVE to use slides! You could talk to the camera, create an audio only course, or something else. I use slides because I enjoy taking courses with slides and I like creating courses with slides.
I think slides keep the video content interesting (rather than just looking at my face forever). The other reason is that I don’t have to have my hair and makeup done when I’m talking over slides. I show my face in the welcome and conclusion video, and that’s all!
But you NEED to know your audience to know the type of modules you should create. I have a friend, Kendra Hennessy, of Mother Like A Boss. She teaches moms how to create systems and routines in their home so they don’t feel like their life is running them. She knows that her audience is full of busy moms, so watching video modules doesn’t make a lot of sense with their schedule. SO she creates AUDIO CONTENT in addition to her video content so that moms can listen to it on the go.
5. Create any worksheets or add-ons for your courses
This is where you actually make the stuff to accompany your course. Whether it’s a workbook, worksheet, or an audio format, get this stuff done now!
6. Create a sales page and link it to your checkout system
If you’re using Teachable or MemberVault, you can do the sales page and checkout system in both of those platforms! Don’t make it more complicated than it has to be.
I don’t actually do this. I use Elementor on my WordPress site to build my sales pages (because I’m an ex-web designer who’s picky), and then I use ThriveCart to checkout. ThriveCart is great for me because it gives me the option to add order bumps. And then I use Teachable to host the course. But I DO NOT recommend having three different platforms to anybody else (especially if you’re just starting out).
7. LAUNCH YOUR COURSE!
Creating your course is NOT hard. The hard part is launching it and actually having people ready to buy it. If you ever wondered how to create an online course, these are your steps! Now go out there and launch baby launch.

+ show Comments
- Hide Comments
add a comment